

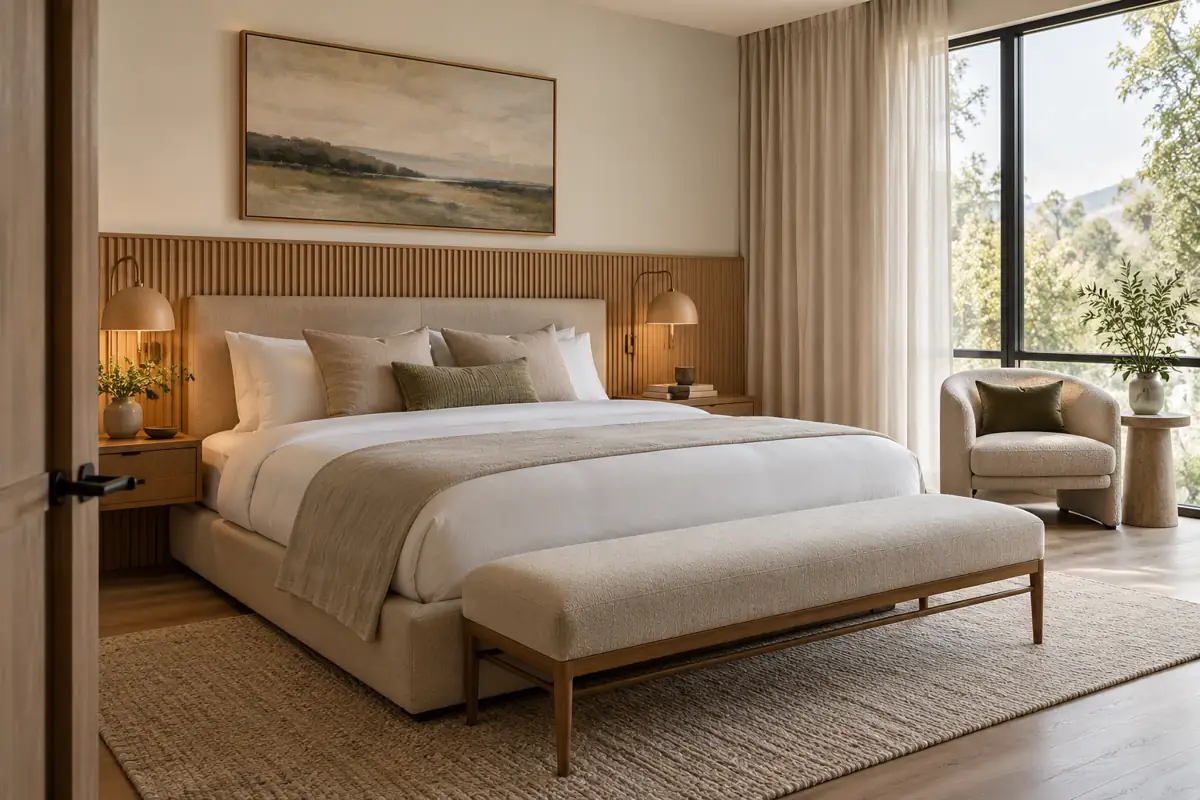
A premium hotel interior starts with a coordinated design, comfortable essentials, and careful spending where guests notice it most. You can simplify decorative finishes and repeat practical furniture details while protecting sleep quality, lighting, durability, and ease of use.
Picture a beautiful room rendering. Then the quotations arrive: stone, joinery, lighting, curtains. Suddenly, every detail has a price tag, and the budget feels much smaller.
Before I look for cheaper products, I ask: which parts of this design are doing the most work? That question helps me separate a memorable space from an expensive shopping list. Here is how I would approach luxury hotel interior design on a budget.
What Makes a Hotel Interior Feel Premium?
I look for four things: visual consistency, good proportions, comfort, and careful finishing. A room feels considered when its furniture fits, its materials belong together, and everyday actions feel easy.
Think of a guest arriving late. There is somewhere to put a suitcase, a reachable light switch, and a comfortable place to sit. Those details support the impression created by the photographs.
A costly feature wall cannot rescue a cramped room or a dazzling bedside lamp. Longitude’s discussion of affordable hotel luxury also argues for concentrating investment on essential items rather than filling rooms with furniture. I would apply that idea to the whole design.
Where Should You Spend—and Where Can You Save?
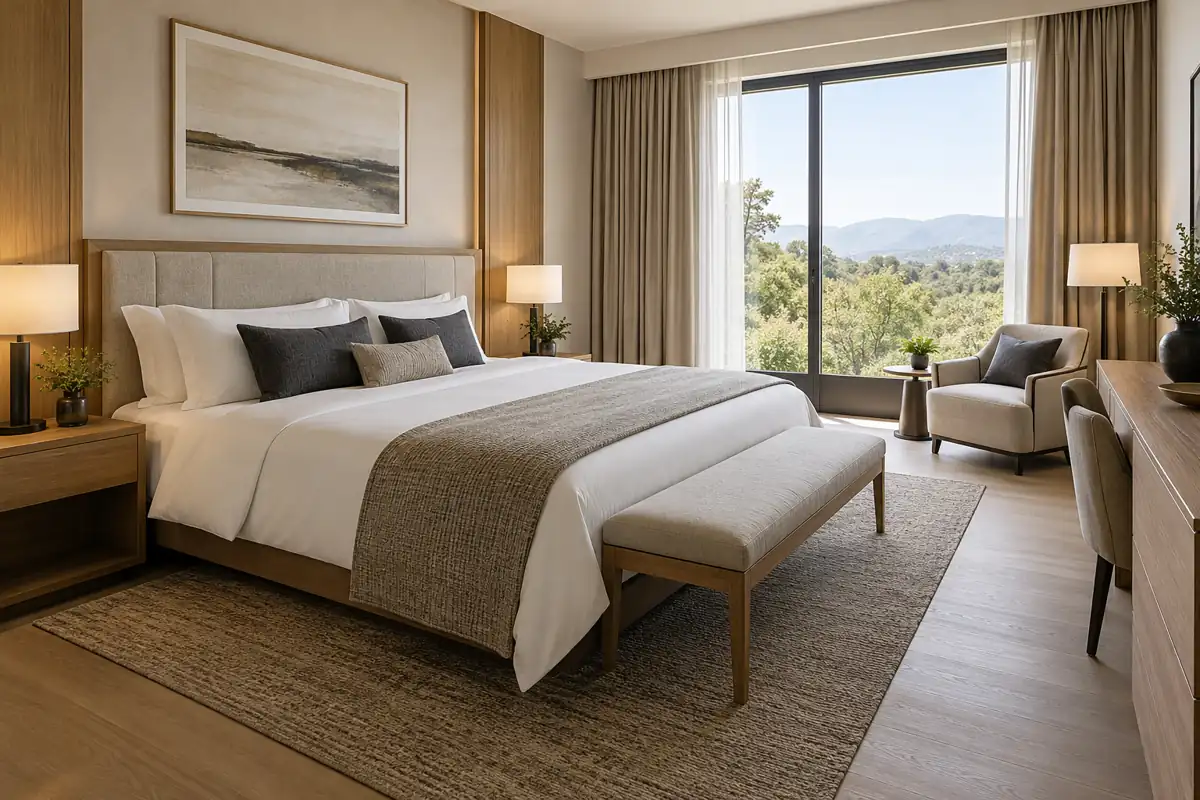
Start with the guest experience and the property’s requirements. A business hotel and a leisure resort may need different priorities. There is no useful universal percentage for every finish category.
For a renovation, first inspect what can stay. Sound wardrobes or a workable layout may be worth keeping; moving services just to follow a reference photo can consume money needed elsewhere.
Write a short budget brief before requesting prices. List the spaces included, room quantities, target opening date, and what the available money must cover. Separate furniture and finishes from construction, professional fees, transport, and installation. Keep an allowance for unresolved conditions. For an existing property, our hotel renovation planning guide explains how scope and work phases connect.
| Area | Protect the investment | Consider simplifying |
|---|---|---|
| Bed and headboard | Comfort, proportions, reading light | Complex shapes and decorative seams |
| Furniture | Stable construction, reliable hardware | Unnecessary size and finish variations |
| Bathroom | Reliable fixtures, practical cleaning | Decorative niches and elaborate stonework |
| Lobby | Clear movement, comfortable seating | Multiple competing feature walls |
| Soft furnishings | Fit, texture, blackout performance | Extra cushions and small ornaments |
Ask what each saving removes. A simpler headboard may preserve the design. A weaker drawer runner may create a maintenance problem. Those are very different compromises.
Coordinate the Room Before Buying Individual Products
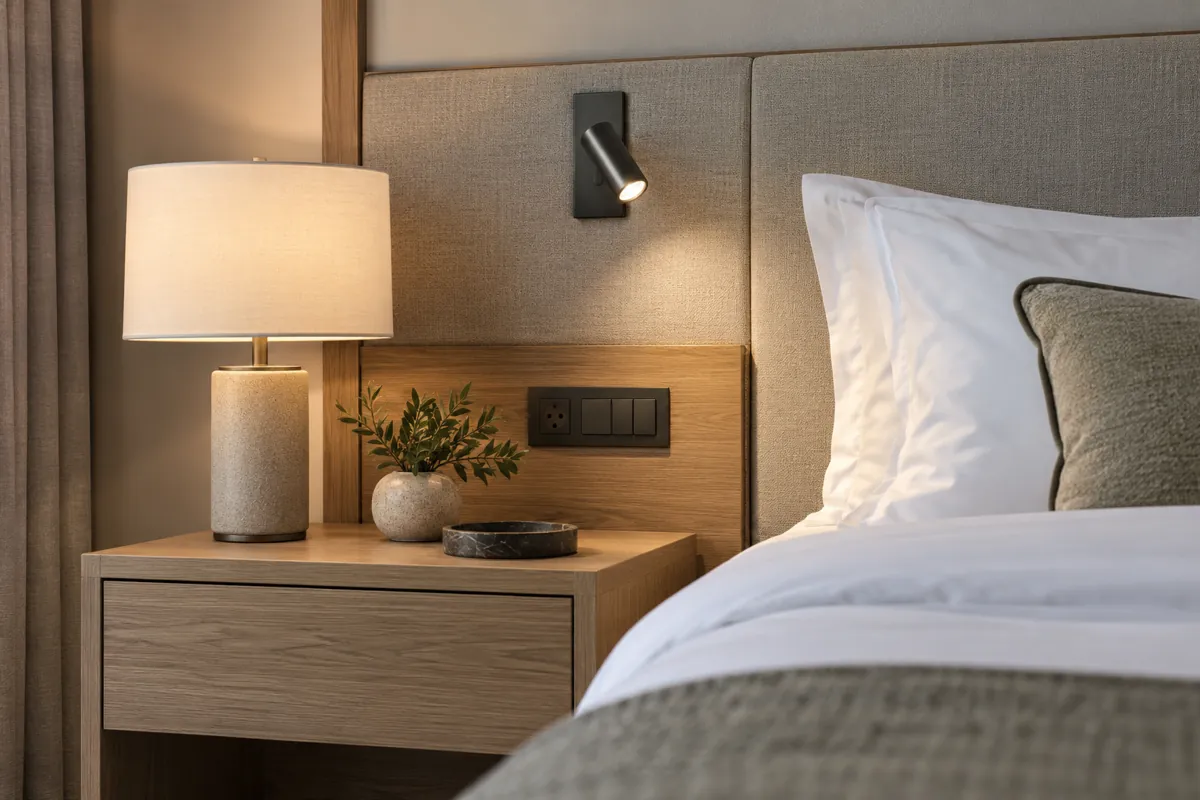
I would begin with a small material palette: a main wood tone, a background finish, a metal finish, and a few related fabrics. Lay real samples together before approving separate purchases.
Give each space one clear focal point. In a guestroom, that might be the bed and headboard. In a lobby, it could be a reception desk or an artwork. The surrounding surfaces can be quieter.
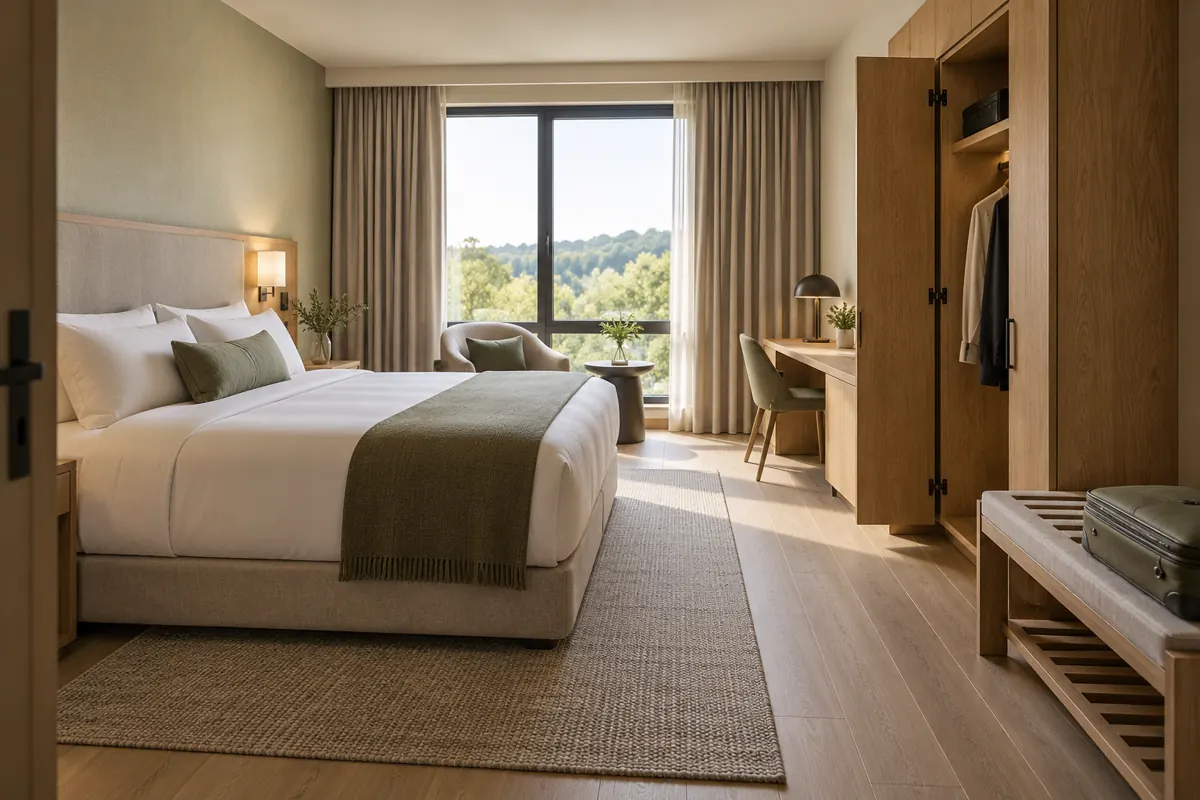
Then test the hotel room layout. Open wardrobe doors, pull out the desk chair, and allow for luggage. Removing an unnecessary table can improve both the purchase list and the room’s sense of space.
Ask suppliers to price a base option and a clearly defined upgrade. For example, compare a simple flat headboard with a shaped version using the same fabric and construction quality. This shows the cost of the decorative decision without mixing it with unrelated specification changes.
Consistency does not mean making every space identical. A shared wood finish can connect guestrooms and corridors while different fabrics give public areas their own character.
Use Lighting to Shape the Experience
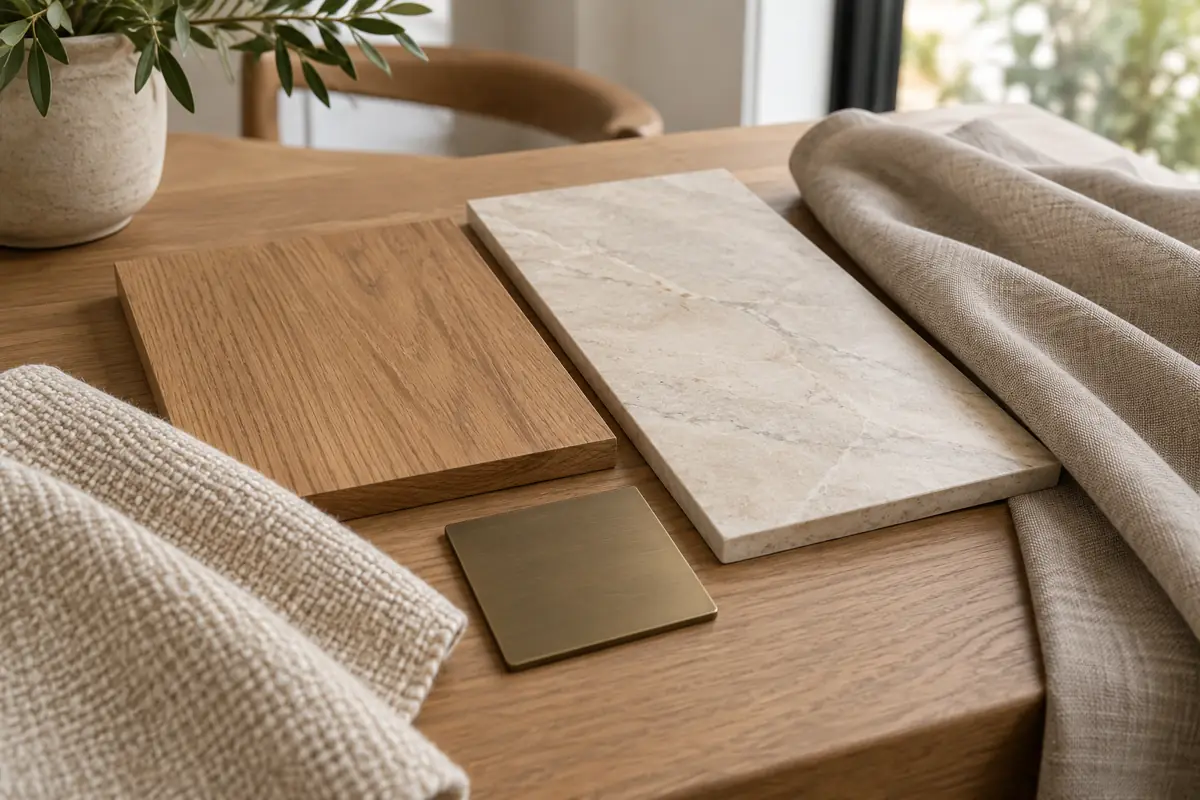
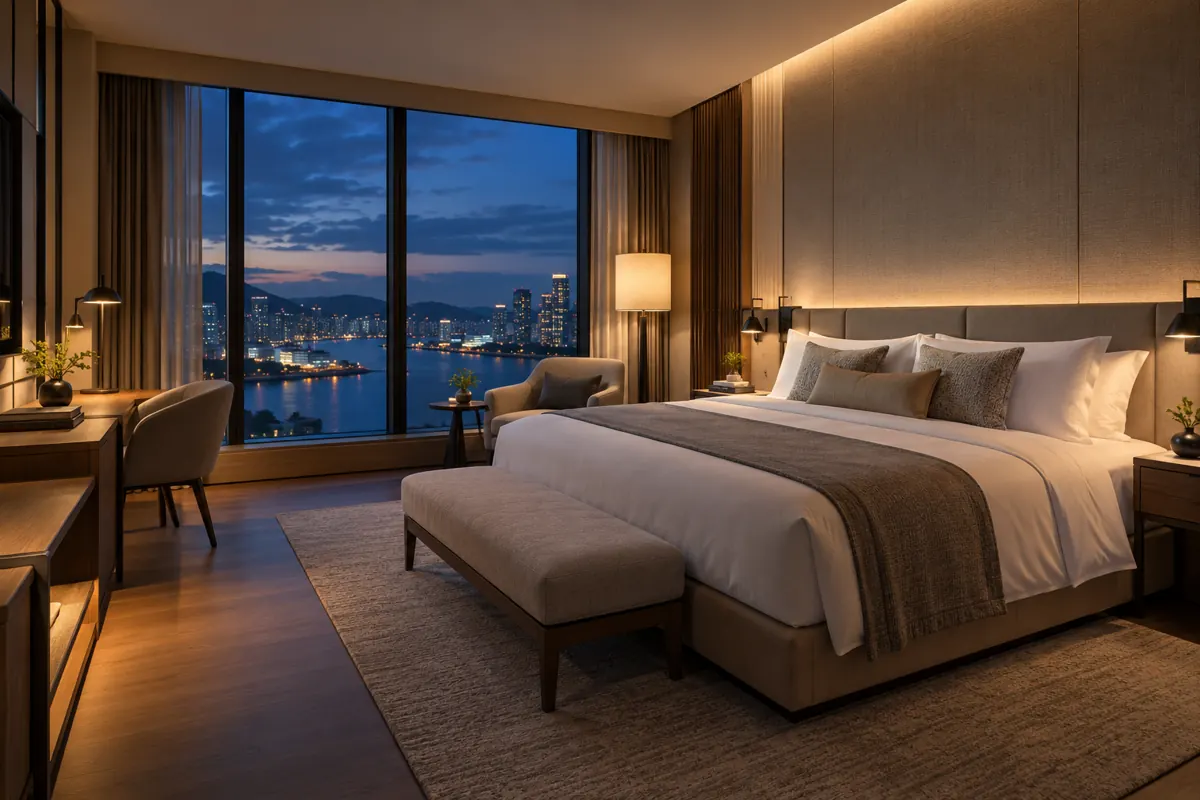
Lighting deserves attention before decorative upgrades. I would plan it around arriving, reading, working, dressing, and resting, rather than asking one bright ceiling fixture to handle everything.
Combine comfortable general light with focused task lighting and a restrained accent where it adds value. Check glare from the bed and reflections in mirrors. An attractive fitting is less appealing when it shines directly into someone’s eyes.
Choose color appearance by testing samples in the actual scheme. Very warm lighting can make pale finishes look yellow; inconsistent lamps can make a coordinated room feel patchy.
For dimming, confirm the lamp, driver, and control combination. ENERGY STAR’s lighting guidance notes that LED and dimmer compatibility varies. Test the proposed combination before ordering it across every room.
Let Curtains and Upholstery Add Texture
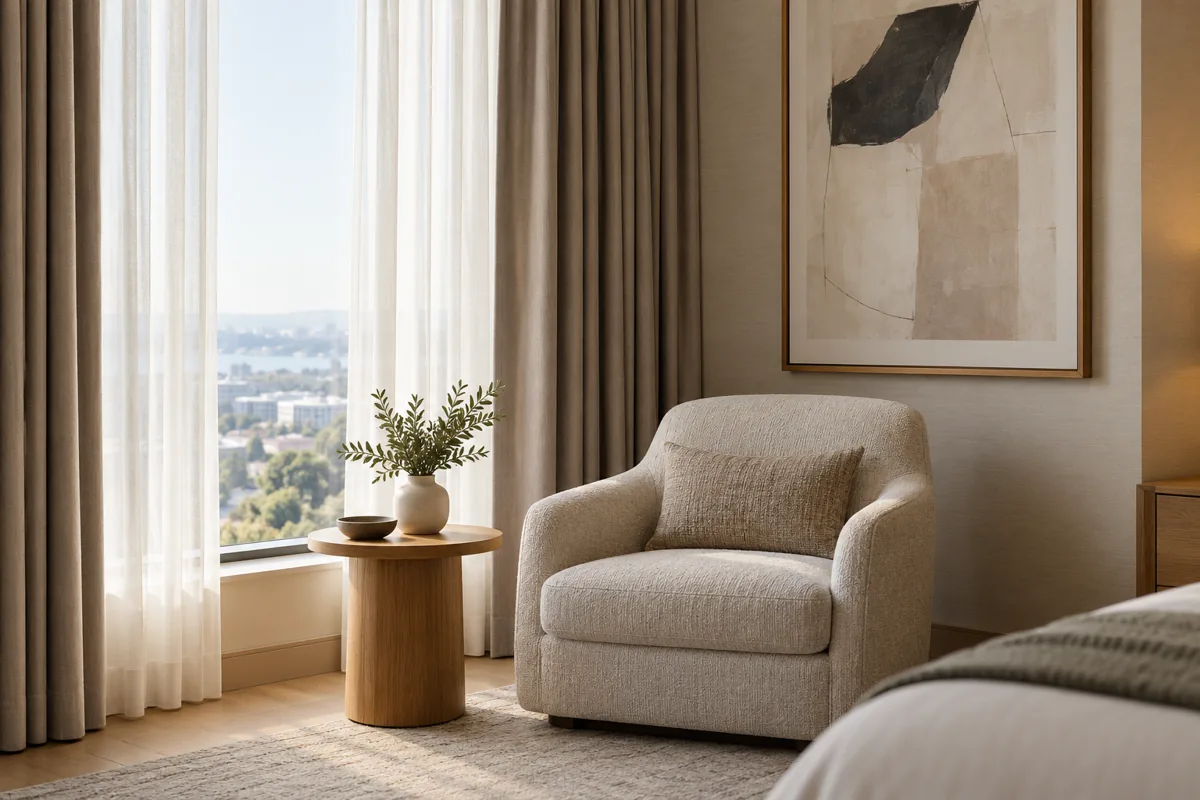
Textiles can soften a room without rebuilding it. Full-height curtains, a well-scaled upholstered headboard, and a comfortable chair can make straightforward surfaces feel more complete.
Measure curtain tracks, stacking space, and finished drops carefully. A good fabric loses its effect when it hangs awkwardly or blocks the window. Where sleep is the priority, check light leakage around the edges as well as the fabric itself.
Compare cleaning instructions, replacement availability, and the required performance documentation. Our guide to curtain fabric types for hotel projects can help structure that discussion.
I would choose fewer decorative pieces with better scale. One artwork that belongs to the location can give a room more personality than a shelf of unrelated ornaments.
Choose Material Alternatives by Location
Material substitutions work best when you preserve the intended visual effect and check the practical trade-offs. Compare completed assemblies, including edges and installation, rather than small samples alone.
For a stone effect, compare natural stone with suitable stone-look porcelain. Inspect pattern repetition, grout lines, exposed edges, cutting, and installation costs. Porcelain is not automatically the cheapest finished option.
The Tile Council of North America explains that tile properties vary and recommends checking the manufacturer’s intended area of use. Our porcelain versus ceramic tile guide adds commercial selection questions.
For a wood effect, compare solid timber, veneer, and suitable decorative boards according to their location. Review edge protection, moisture exposure, repair options, and finish matching.
For metal and wall details, simplify the number of finishes. Compare coating durability and cleaning needs, and use feature cladding selectively. A well-prepared painted wall may be a better choice than poorly installed decorative panels.
Apply the Budget Differently in Each Space
Guestrooms: build the design around rest. Keep the bed zone, lighting, and curtains coordinated. Simplify extra furniture and complicated wall details before reducing comfort.
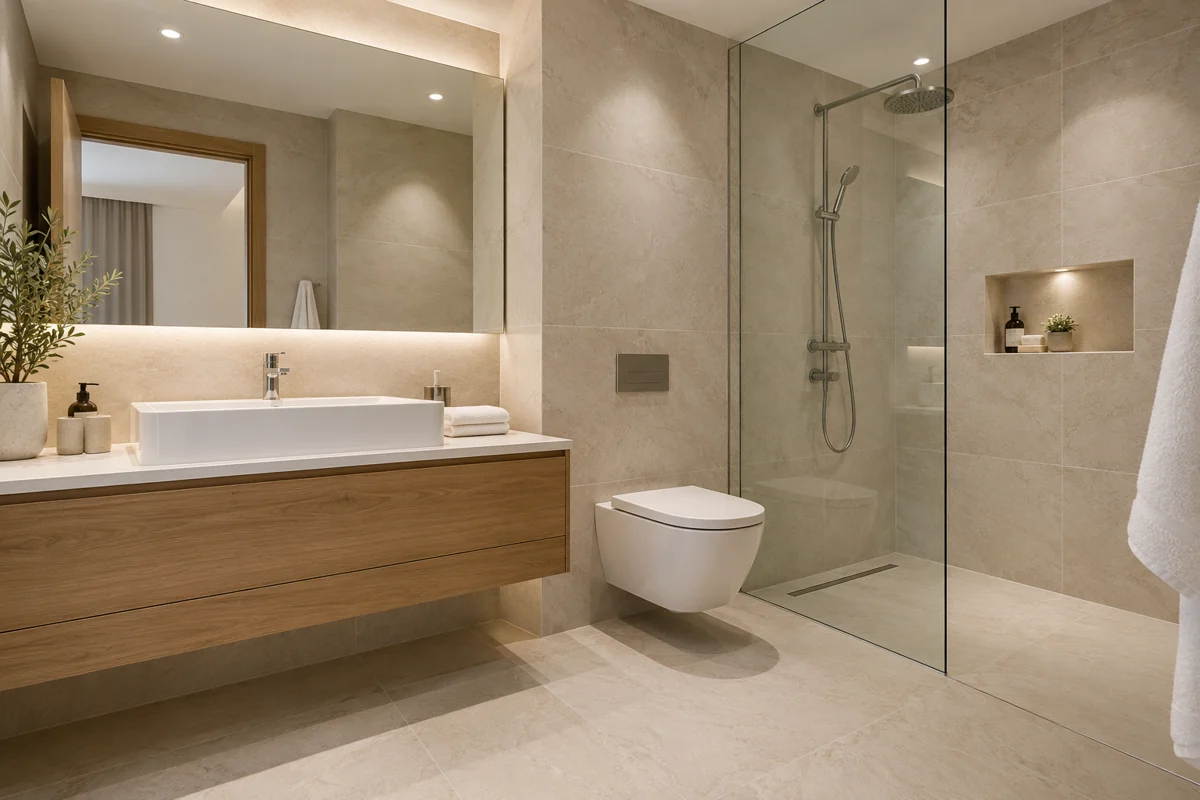
Bathrooms: aim for a clean, usable space. Straightforward tile layouts and a simple vanity can look refined. Keep waterproofing, drainage, installation quality, and required safety performance within the technical scope; decorative savings should come from elsewhere.
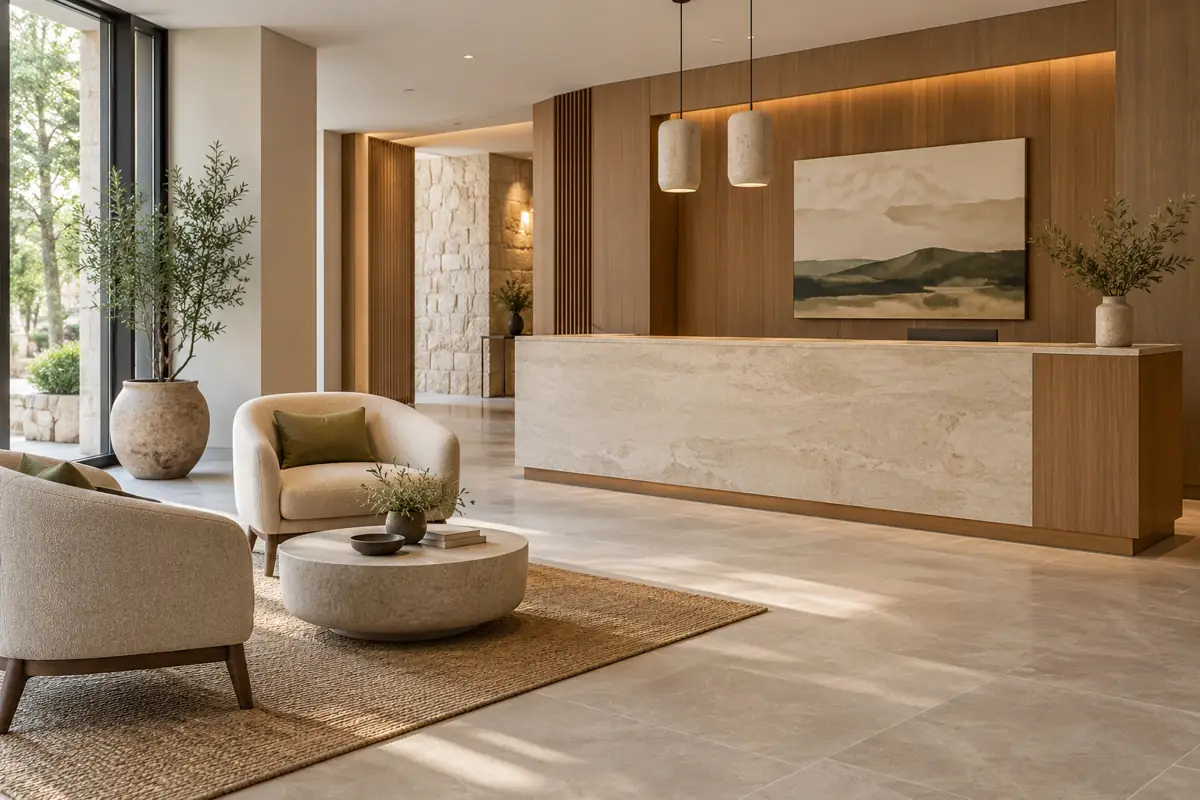
Lobbies: spend where arrival happens. A clear reception point, comfortable seating, and one distinctive feature can carry the scheme. Review maintenance access and queue space before approving an oversized desk or statement light.
In each area, ask the operator how it will be cleaned and repaired. A beautiful finish that needs difficult daily care may be the wrong match for the property’s staffing and operating plan.
Check One Room Before Repeating It
Small decisions grow when multiplied. In a hypothetical 100-room hotel, an extra $50 decorative item per room adds $5,000 before related shipping and installation. This is a calculation example, not a project quotation.
Standardize dimensions, hardware, and finishes where room types genuinely match. Keep exceptions visible. Similar-looking rooms may have different measured openings or service positions.
Review samples under the proposed lighting. Where repetition and complexity justify it, use a full-size mock-up to check furniture fit, socket access, curtain operation, cleaning, and material junctions. Record corrections in the approved drawings before batch production.
Compare supplier quotations on the same scope: quantities, materials, hardware, packaging, freight, duties where applicable, and installation responsibilities. A missing item can make one quotation look artificially attractive.
Agree who signs off the final room package and set a deadline for changes. Keep one current finish schedule so purchasing and installation teams use the same references. If a substitution becomes necessary, check its neighboring materials again before approving it.
Also allow for maintenance and replacement. The Whole Building Design Guide’s cost and value engineering guidance considers costs across the project life cycle. For hotel interiors, I would use that perspective when comparing repairable furniture with a lower-priced option that is harder to maintain.
Before You Approve the Design
Bring these questions to the design and purchasing meeting:
- Which guest experiences must the budget protect?
- What can stay, and what genuinely needs replacement?
- Do the layout, materials, and lighting work together?
- Have alternatives been compared at installed cost?
- Can the operator clean, repair, and replace the selected items?
- Are samples, drawings, quantities, and quotation scope aligned?
I would rather resolve those questions early than explain an expensive change later. A premium result depends on a series of clear, coordinated decisions. Make the important ones before the orders go out.